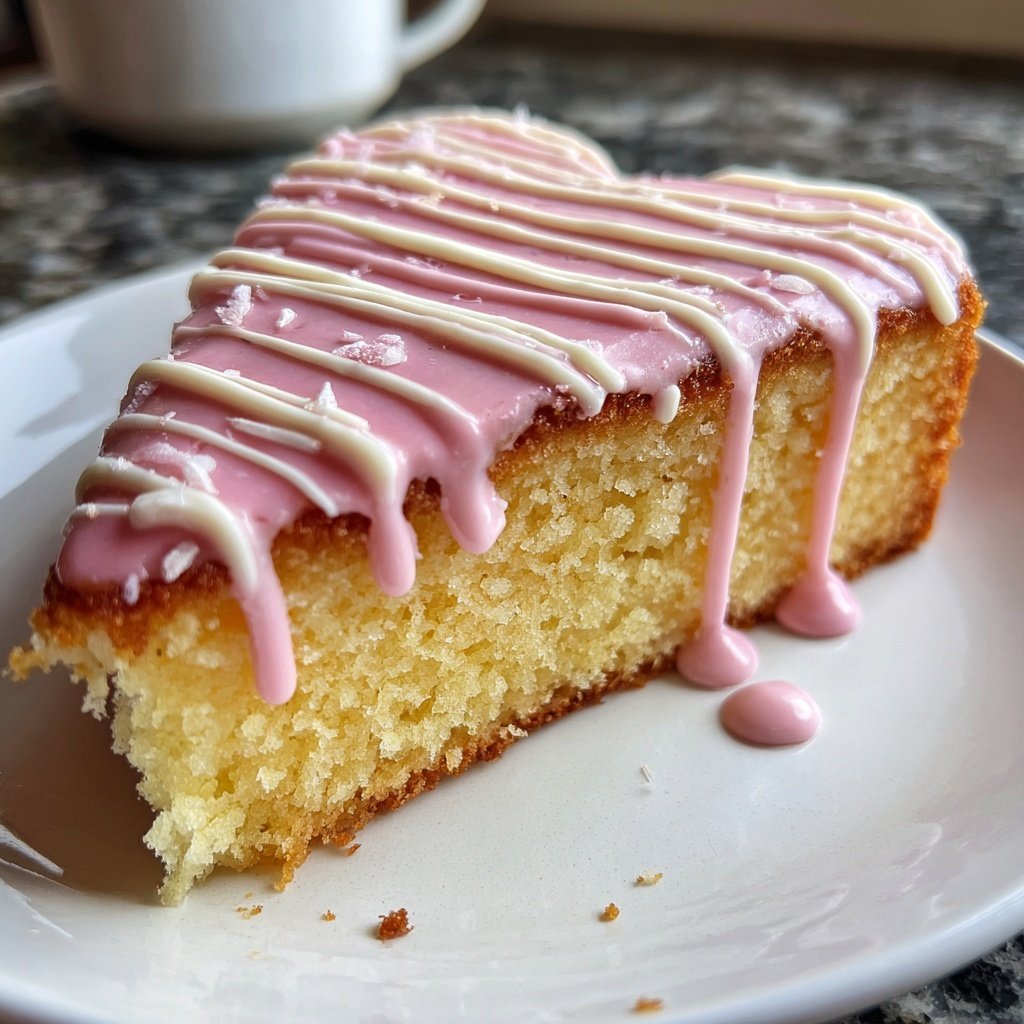
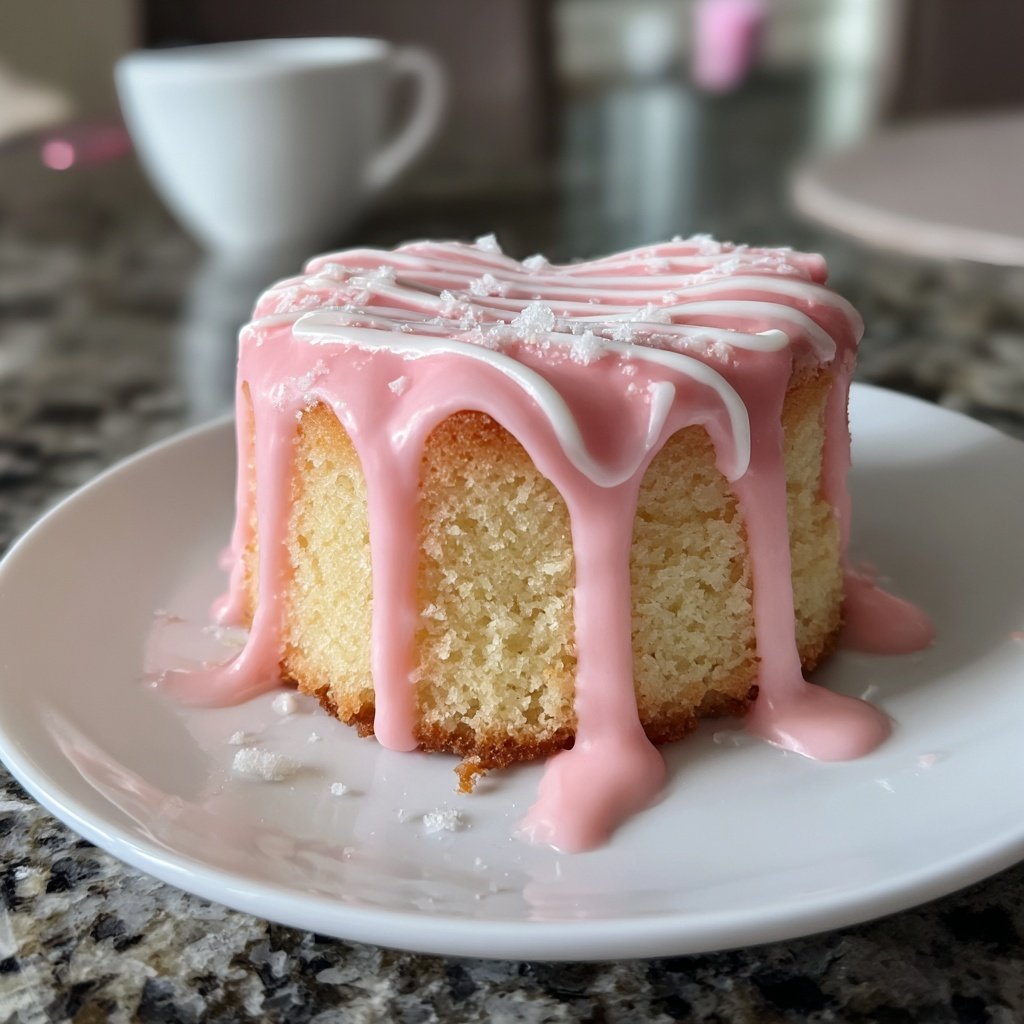
Mini Heart Cake with Vanilla Sponge
Highlighted under: Home Baking Inspiration
I love making these Mini Heart Cakes whenever I want to celebrate a special moment or treat my loved ones. The light and fluffy vanilla sponge pairs perfectly with a decadent frosting, creating a delightful dessert that never fails to impress. Baking them in heart-shaped pans not only adds a touch of charm but also makes them perfect for sharing. With just a few simple ingredients, it's an easy recipe that yields adorable cakes that are both delicious and visually appealing. Trust me, these cakes will brighten anyone's day!
When I first attempted to make these Mini Heart Cakes, I was amazed at how quickly they came together. The vanilla sponge itself is incredibly light, and the addition of baking powder is key to achieving that perfect rise. I remember the anticipation as the cakes baked, filling my kitchen with the sweet aroma of vanilla!
What truly sets these cakes apart is the frosting - a blend of cream cheese and vanilla that provides an irresistible creaminess. I often garnish them with fresh berries to add a pop of color and flavor. It's a wonderful touch that elevates the entire presentation, making these cakes truly unforgettable.
Why You'll Love This Recipe
- Delicate vanilla sponge that melts in your mouth
- Charming heart shape perfect for any occasion
- Smooth and creamy frosting that complements the cake beautifully
Mastering the Vanilla Sponge
Creating the perfect vanilla sponge is all about the technique. When combining the softened butter and sugar, beat them until the mixture is light and fluffy, which usually takes about 3 to 5 minutes. This aeration is crucial for achieving a cake that rises beautifully and has a light, tender crumb. Make sure to scrape down the sides of the bowl occasionally to ensure all ingredients are well incorporated and no dry flour remains.
Mixing the dry ingredients separately is also essential. By whisking together the flour, baking powder, and salt, you ensure even distribution of the leavening agent and flavors. This step prevents any uneven rising that can occur if they are added directly to the wet mixture. Always use a fine mesh sieve for the flour to avoid clumps, contributing to a silky batter. Remember, when combining wet and dry, mix just until combined; overmixing can lead to a dense cake.
The Cream Cheese Frosting
The cream cheese frosting truly elevates these mini heart cakes. For a smooth and creamy texture, ensure that both the cream cheese and butter are at room temperature before mixing. This allows them to blend seamlessly without lumps. I suggest using a stand mixer or hand mixer on medium speed to achieve the glossy consistency that will beautifully frost your cakes. If the frosting is too thick, add a tablespoon of milk at a time, mixing until you reach your desired spreadability.
If you're looking to customize your frosting further, consider adding a splash of lemon juice for a tangy twist or a hint of almond extract for extra flavor depth. Additionally, using high-quality vanilla extract will enhance the frosting's taste, complementing the vanilla sponge perfectly. Be sure to taste as you go—it’s one of my favorite steps to ensure the balance of sweetness is just right!
Decorating and Serving Tips
When it comes to decoration, fresh berries not only add visual appeal but also a refreshing taste that cuts through the sweetness of the frosting. Arrange them artfully on top, or place them strategically between the layers for a pop of color and flavor. Consider using a variety of berries like strawberries, raspberries, or blueberries to create a vibrant presentation. You can also dust the finished cakes with powdered sugar for an elegant touch.
These mini heart cakes are versatile—try serving them at various occasions, from Valentine's Day to anniversaries or even birthday parties. If you're making them ahead of time, store the unfrosted sponges in an airtight container at room temperature for up to two days or freeze them for longer storage. Just remember to frost them after thawing to maintain the texture and freshness of the cake.
Ingredients
Gather the following ingredients before you start:
For the Vanilla Sponge
- 1 cup all-purpose flour
- 1/2 cup sugar
- 1 tsp baking powder
- 1/4 tsp salt
- 1/2 cup unsalted butter, softened
- 2 large eggs
- 1 tsp vanilla extract
- 1/4 cup milk
For the Cream Cheese Frosting
- 8 oz cream cheese, softened
- 1/4 cup unsalted butter, softened
- 2 cups powdered sugar
- 1 tsp vanilla extract
- Fresh berries for decoration (optional)
Once you have everything prepared, you’re ready to start baking!
Instructions
Follow these steps carefully for perfect Mini Heart Cakes:
Preheat the Oven
Preheat your oven to 350°F (175°C) and grease your heart-shaped cake pans.
Mix Dry Ingredients
In a bowl, combine all-purpose flour, sugar, baking powder, and salt.
Cream Butter and Sugar
In another bowl, beat the softened butter and sugar until light and fluffy, about 3-5 minutes.
Incorporate Eggs and Vanilla
Add the eggs, one at a time, mixing well after each addition. Stir in the vanilla extract.
Combine Ingredients
Gradually add the dry ingredients to the butter mixture, alternating with milk. Mix until just combined.
Bake the Cakes
Pour the batter evenly into the prepared pans and bake for 20-25 minutes or until a toothpick inserted in the center comes out clean.
Prepare Frosting
While the cakes cool, prepare the frosting by blending cream cheese, butter, powdered sugar, and vanilla until smooth.
Assemble the Cakes
Once cooled, frost the top of one cake, stack the second on top, and repeat for all cakes. Decorate with fresh berries, if desired.
Enjoy your beautifully crafted Mini Heart Cakes!
Pro Tips
- For an extra touch, you can flavor the frosting with lemon zest or drizzle some chocolate over the top for a delightful twist.
Tips for Storing Leftovers
If you find yourself with leftover mini heart cakes, fear not! These delights can be stored in an airtight container in the refrigerator for up to 4 days. The chilling can even improve the flavor as the frosting sets slightly. Just be sure to place parchment paper between layers if stacking, to avoid sticking and ruining the frosting's look.
For longer storage, you can freeze the unfrosted cakes. Wrap them tightly in plastic wrap, then place them in a freezer-safe bag. They can be frozen for up to three months. When ready to enjoy, simply thaw them in the refrigerator overnight and frost as desired for a lovely treat.
Scaling the Recipe
This recipe is easily scalable, whether you're making a mini treat for one or a larger batch for a group. If you're looking to create additional heart cakes, simply double or triple the ingredients proportionally. For larger gatherings, you could utilize regular round cake pans to maintain the heart theme without changing the flavor or texture.
Keep in mind that the baking time may vary for larger cakes—check for doneness a few minutes earlier than suggested for mini cakes, and extend baking time in 5-minute intervals as needed. Baking larger cakes can be a bit tricky; use a toothpick to ensure they're cooked through before removing them from the oven.
Flavor Variations
Feel free to personalize your mini heart cakes with different flavor variations! For a chocolate sponge, substitute 1/3 cup of flour with cocoa powder, adjusting the sweetness as necessary. Alternatively, consider lemon zest or almond extract in the batter for a fragrant twist that pairs beautifully with the cream cheese frosting.
You could also explore filling the centers with jam or whipped cream in addition to frosting. Layering flavors not only adds an element of surprise but also enhances the overall dining experience. Have fun experimenting, as the possibilities are endless—just be sure to maintain the cake's balance so each layer shines through!
Questions About Recipes
→ Can I use a different type of flour?
Yes, you can substitute all-purpose flour with almond or gluten-free flour, but it might change the texture of the cake.
→ How long can I store the cakes?
These cakes can be stored in an airtight container in the fridge for up to 3 days.
→ Can I freeze these cakes?
Absolutely! You can freeze un-frosted cakes for up to a month. Just wrap them tightly before placing them in the freezer.
→ What can I use instead of cream cheese for frosting?
You could use whipped heavy cream or a dairy-free alternative like coconut cream for a lighter frosting option.
Mini Heart Cake with Vanilla Sponge
Created by: Rebecca Turner
Recipe Type: Home Baking Inspiration
Skill Level: Intermediate
Final Quantity: 4 mini cakes
What You'll Need
For the Vanilla Sponge
- 1 cup all-purpose flour
- 1/2 cup sugar
- 1 tsp baking powder
- 1/4 tsp salt
- 1/2 cup unsalted butter, softened
- 2 large eggs
- 1 tsp vanilla extract
- 1/4 cup milk
For the Cream Cheese Frosting
- 8 oz cream cheese, softened
- 1/4 cup unsalted butter, softened
- 2 cups powdered sugar
- 1 tsp vanilla extract
- Fresh berries for decoration (optional)
How-To Steps
Preheat your oven to 350°F (175°C) and grease your heart-shaped cake pans.
In a bowl, combine all-purpose flour, sugar, baking powder, and salt.
In another bowl, beat the softened butter and sugar until light and fluffy, about 3-5 minutes.
Add the eggs, one at a time, mixing well after each addition. Stir in the vanilla extract.
Gradually add the dry ingredients to the butter mixture, alternating with milk. Mix until just combined.
Pour the batter evenly into the prepared pans and bake for 20-25 minutes or until a toothpick inserted in the center comes out clean.
While the cakes cool, prepare the frosting by blending cream cheese, butter, powdered sugar, and vanilla until smooth.
Once cooled, frost the top of one cake, stack the second on top, and repeat for all cakes. Decorate with fresh berries, if desired.
Extra Tips
- For an extra touch, you can flavor the frosting with lemon zest or drizzle some chocolate over the top for a delightful twist.
Nutritional Breakdown (Per Serving)
- Calories: 320 kcal
- Total Fat: 18g
- Saturated Fat: 10g
- Cholesterol: 70mg
- Sodium: 150mg
- Total Carbohydrates: 36g
- Dietary Fiber: 1g
- Sugars: 22g
- Protein: 4g