Valentines Snacks Mini Puff Pastries
Highlighted under: Fast Quick Meals Inspiration
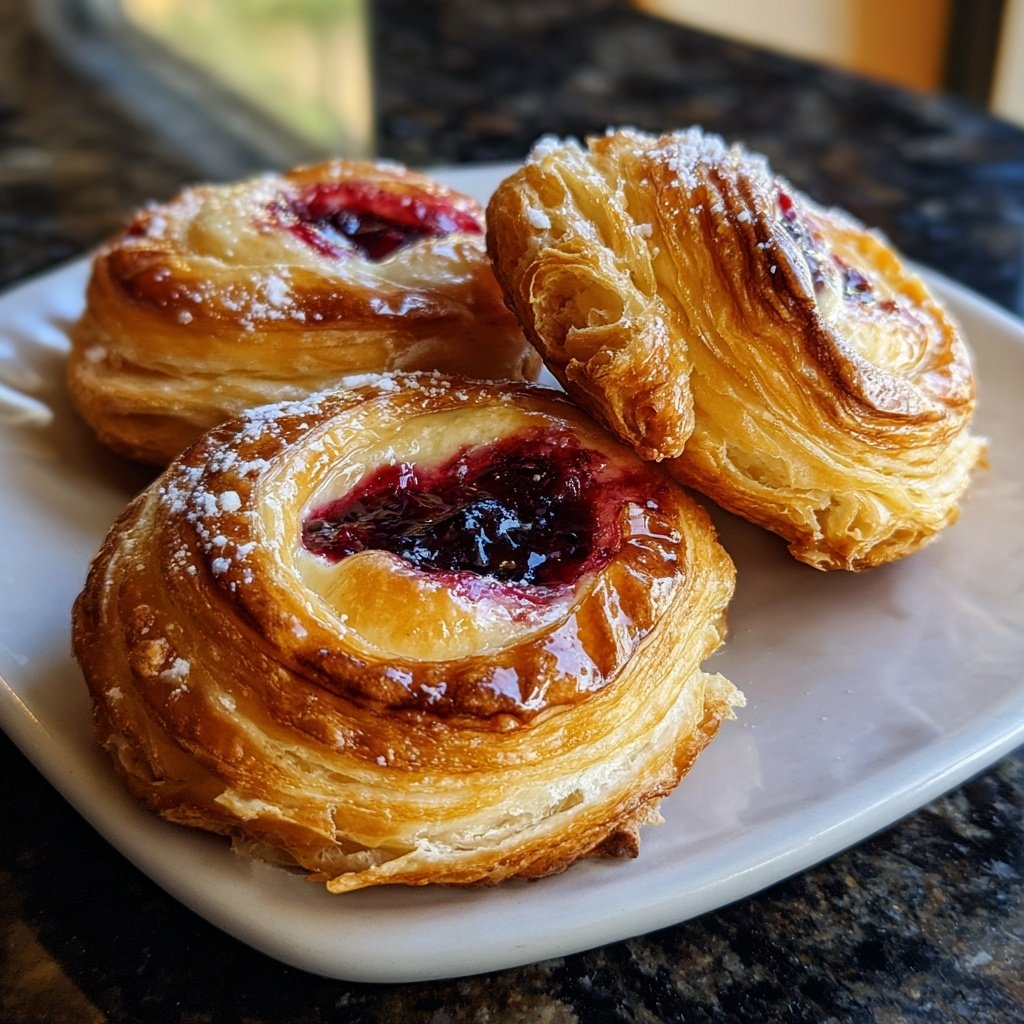
I absolutely love making these mini puff pastries for Valentine's Day! Each bite is like a delicious hug, filled with sweet surprises that just melt in your mouth. The combination of flaky pastry with rich fillings makes them irresistible. Whether it's a cozy night in with my partner or a fun gathering with friends, these snacks never fail to impress. Plus, they're incredibly easy to customize with your favorite ingredients, making them the perfect treat for any occasion.
When I first made these mini puff pastries, I was blown away by how simple yet delicious they were. I experimented with various fillings, from classic chocolate to fresh fruit jam, and each version turned out amazing! The versatility of puff pastry really shines in this recipe, allowing me to create these charming little bites in no time.
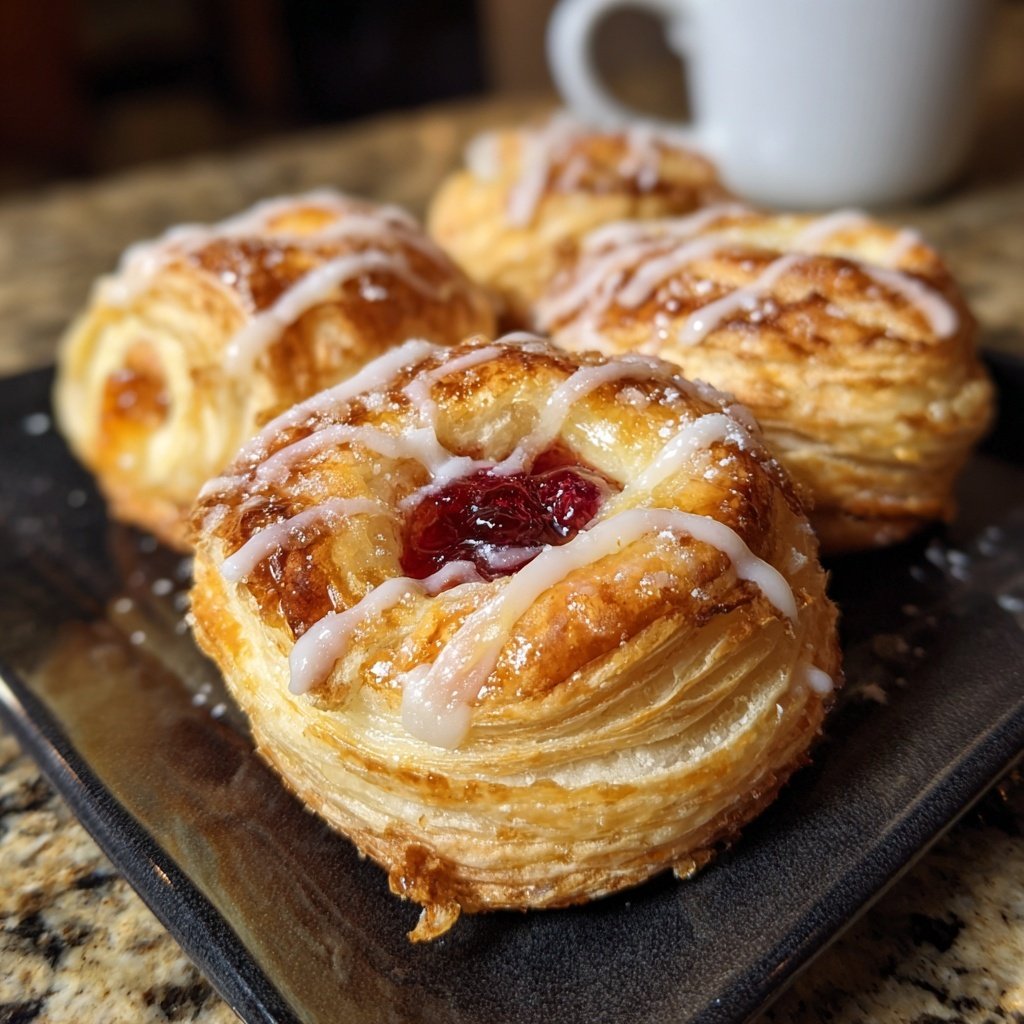
What I love most is how quickly they bake up, filling the kitchen with a delightful aroma. I recommend brushing them with egg wash for that perfectly golden finish. These pastries are not only cute but also a fantastic way to surprise loved ones with an edible gift this Valentine's Day!
Why You'll Love These Mini Puff Pastries
- Flaky, buttery pastry that’s golden and crisp
- Customizable fillings to suit any sweet tooth
- Perfectly portioned for snacking or sharing
Mastering Puff Pastry Technique
The hallmark of these mini puff pastries lies in the technique of working with puff pastry. For best results, always ensure the pastry is chilled before rolling it out. Warm pastry can lose its ability to puff properly in the oven, leading to dense bites instead of the desired flaky texture. If at any moment the pastry becomes too warm, pop it back in the fridge for about 10-15 minutes to firm up before proceeding with cutting and filling.
When cutting out your squares, use a sharp knife or pizza cutter to ensure clean edges. Avoid using a dull tool, as it can crush the layers of the pastry, affecting the final rise. To further enhance the texture, score a border around each square about 1/2 inch from the edge using a knife, being careful not to cut all the way through. This technique encourages the pastry to puff up beautifully during baking.
Exploring Flavor Variations
While chocolate chips and fruit preserves are classic choices for filling, consider experimenting with various combinations to elevate your mini puff pastries. For a richer option, try adding a spoonful of Nutella alongside the chocolate chips. If you're leaning more toward fruity flavors, a mix of cream cheese and fresh raspberries creates a tangy and decadent filling. Herbs, like a hint of mint or basil, can also add an unexpected twist that complements the sweetness beautifully.
Don’t shy away from savory fillings either! A mixture of sautéed mushrooms, spinach, and ricotta cheese can turn these pastries into a delicious appetizer. Adjust the seasoning with salt and pepper to enhance the flavor further. The versatility of puff pastry makes it a great vehicle for both sweet and savory tastes, allowing you to impress your guests with diverse options.
Storage and Reheating Tips
These mini puff pastries are best enjoyed fresh out of the oven, but you can easily store any leftovers. Once cooled, place them in an airtight container and store them in the refrigerator for up to three days. If you want to make them ahead of time, consider freezing the pastries before baking. After sealing the filled squares, place them on a baking sheet lined with parchment paper and freeze until solid. Once frozen, transfer them to a zip-top freezer bag for up to a month.
When you’re ready to enjoy your frozen pastries, there’s no need to thaw them. Simply preheat your oven and bake them directly from frozen, adding an extra 3-5 minutes to the baking time. This method ensures that they retain their flaky texture while still being quick and convenient. Serve them as a delightful snack or dessert at your next gathering!
Ingredients
Gather your ingredients before you start to make the process smooth and enjoyable.
Mini Puff Pastries Filling
- 1 package of puff pastry sheets (thawed)
- 1/2 cup of chocolate chips or fruit preserves
- 1 egg (beaten, for egg wash)
- Powdered sugar for dusting (optional)
Ensure the puff pastry sheets are cold for easier handling.
Instructions
Follow these simple steps for a successful baking experience!
Preheat the Oven
Preheat your oven to 400°F (200°C). Line a baking sheet with parchment paper.
Prepare the Puff Pastry
Roll out the thawed puff pastry sheets on a lightly floured surface. Cut them into 2-inch squares.
Fill the Pastries
Place a small dollop of chocolate chips or fruit preserves in the center of each square.
Seal the Pastries
Fold the corners of each square towards the center to create little pockets. Press down to seal.
Brush with Egg Wash
Using a brush, gently coat the tops of each pastry with the beaten egg for a golden finish.
Bake
Bake in the preheated oven for 12-15 minutes, or until golden brown and puffed up.
Cool and Serve
Let them cool slightly before dusting with powdered sugar. Serve warm and enjoy!
These mini pastries are best enjoyed fresh but can be stored in an airtight container for a day.
Pro Tips
- Experiment with different fillings like Nutella, cream cheese, or spiced apple to suit your taste preferences.
Tips for Perfect Egg Wash
Applying an egg wash is a crucial step in achieving a beautiful golden brown finish. Whisk the egg well to ensure it’s fully combined, resulting in a smooth coating that prevents streaks. For an added shine, consider mixing a dash of water or cream into the egg before brushing it onto the pastries—this can enhance the glossiness of the final product.
Be careful not to oversaturate the pastries with egg wash, as it can lead to a soggy bottom instead of a crisp texture. A light, even coating is all you need for that perfect sheen. I find that using a silicone brush works best for even application and minimal mess.
Serving Suggestions
These mini puff pastries can be served warm on their own or with an assortment of dipping sauces for added flavor. I particularly love pairing them with fresh whipped cream or a warm chocolate sauce, which adds a decadent touch. For a playful twist, try serving them with a fruit compote or a drizzle of salted caramel sauce on the side.
For a more festive presentation, arrange the baked pastries on a decorative platter and garnish with fresh mint leaves or edible flowers. This not only enhances the visual appeal but also adds a touch of freshness, making them perfect for a Valentine’s Day celebration or any gathering. Don't forget to pair them with a lovely drink, like sparkling cider or a light dessert wine, to enhance the indulgent experience.
Questions About Recipes
→ Can I make the puff pastry from scratch?
Yes, but for convenience, store-bought puff pastry works perfectly for this recipe!
→ How do I store leftovers?
Store them in an airtight container at room temperature for 1-2 days. They are best fresh.
→ Can I freeze these pastries?
Yes, you can freeze unbaked pastries! Just freeze them on a baking sheet, then transfer to a bag.
→ What other fillings can I use?
You can use any sweet filling, such as custard, marzipan, or even savory options if desired!
Valentines Snacks Mini Puff Pastries
Created by: Rebecca Turner
Recipe Type: Fast Quick Meals Inspiration
Skill Level: Easy
Final Quantity: 24 pastries
What You'll Need
Mini Puff Pastries Filling
- 1 package of puff pastry sheets (thawed)
- 1/2 cup of chocolate chips or fruit preserves
- 1 egg (beaten, for egg wash)
- Powdered sugar for dusting (optional)
How-To Steps
Preheat your oven to 400°F (200°C). Line a baking sheet with parchment paper.
Roll out the thawed puff pastry sheets on a lightly floured surface. Cut them into 2-inch squares.
Place a small dollop of chocolate chips or fruit preserves in the center of each square.
Fold the corners of each square towards the center to create little pockets. Press down to seal.
Using a brush, gently coat the tops of each pastry with the beaten egg for a golden finish.
Bake in the preheated oven for 12-15 minutes, or until golden brown and puffed up.
Let them cool slightly before dusting with powdered sugar. Serve warm and enjoy!
Extra Tips
- Experiment with different fillings like Nutella, cream cheese, or spiced apple to suit your taste preferences.
Nutritional Breakdown (Per Serving)
- Calories: 200 kcal
- Total Fat: 12g
- Saturated Fat: 7g
- Cholesterol: 55mg
- Sodium: 150mg
- Total Carbohydrates: 22g
- Dietary Fiber: 1g
- Sugars: 8g
- Protein: 3g